How to install wafer butterfly valve and installation tips
Title: How to install wafer butterfly valve
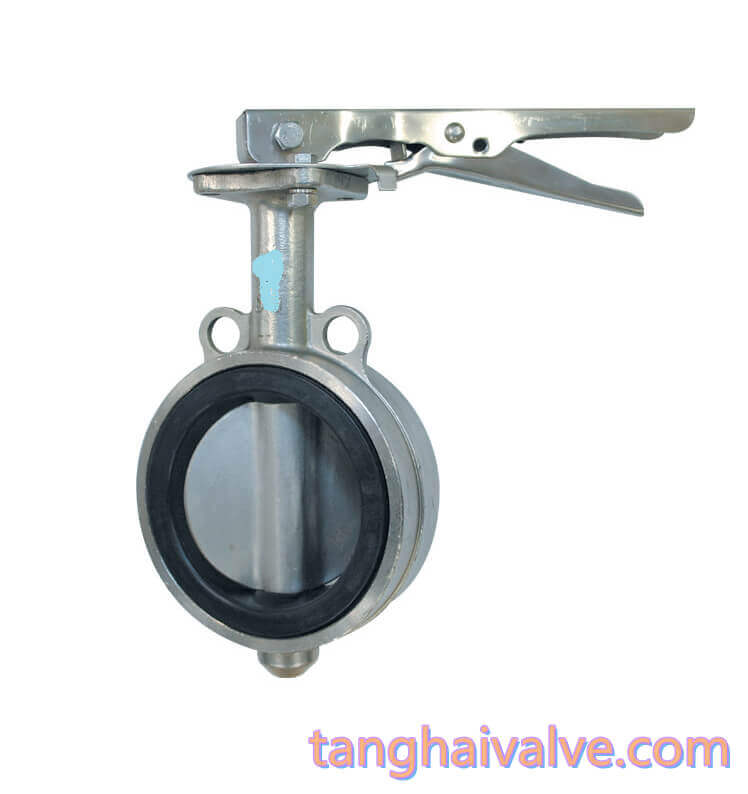
In this article, let’s talk about the installation method of the wafer butterfly valve. Wafer type is a connection method of butterfly valve, that is, when installing on the pipeline, it is necessary to clamp the butterfly valve with two pieces of flanges, and then connect it with the flange on the pipeline. Corresponding to it is another connection method of butterfly valve, flange type. The installation of flanged butterfly valve will be shared with you in the future. Today we mainly talk about how to install the wafer butterfly valve in the form of pictures and texts.

JIS 10K-wafer butterfly valve-backup seat (4)
The structure of the wafer butterfly valve is relatively short and takes up little space. During installation, use the special flange for the wafer butterfly valve to fix it, and then put the fixed wafer flange into the middle of the flanges at both ends of the pipeline, and use bolts to fix it. The control of the fluid medium in the pipeline can be realized by fixing it through the special flange of the wafer butterfly valve and the pipeline flange (if there is no flange on the pipeline, the special flange for the butterfly valve needs to be welded on the pipeline). The wafer type butterfly valve occupies a small space, which makes it especially suitable for installation and use in situations where the space is narrow or the distance between pipes is relatively small.
The specific installation steps of the wafer butterfly valve are as follows:
1. Place the wafer butterfly valve between the two pre-installed special flanges for wafer butterfly valves, and pay attention to align the flange bolt holes with the round holes of the butterfly valve body.
2. Insert the bolts and nuts into the flange holes to connect the valve body and the flange, and correct the flatness in the method, but be careful not to overtighten the bolts and nuts.
3. Weld the flange on the pipe, this step should be done by spot welding.
4. Remove the wafer butterfly valve first.
5. Weld the two flanges on the pipe completely to complete the fixation.
6. After the weld between the flange and the pipe is cooled, install the wafer butterfly valve. At this time, pay attention to opening the butterfly plate a little.
7. Correct the installation position of the butterfly valve again, and tighten the bolts, but be careful not to over-tighten them.
8. Fully open the butterfly plate of the butterfly valve to ensure that the butterfly plate of the butterfly valve can be opened and closed freely.
9. Cross the bolts again and tighten them evenly;
10. After the above steps are completed, test the opening and closing of the butterfly valve again to ensure that the valve can open and close freely.
The above is the introduction of butterfly valve installation steps. Here, I would like to tell all friends who purchase butterfly valves. Before installing the wafer butterfly valve, pay attention to the handling and do not bump it at will. After installation, non-professionals should not disassemble it casually.

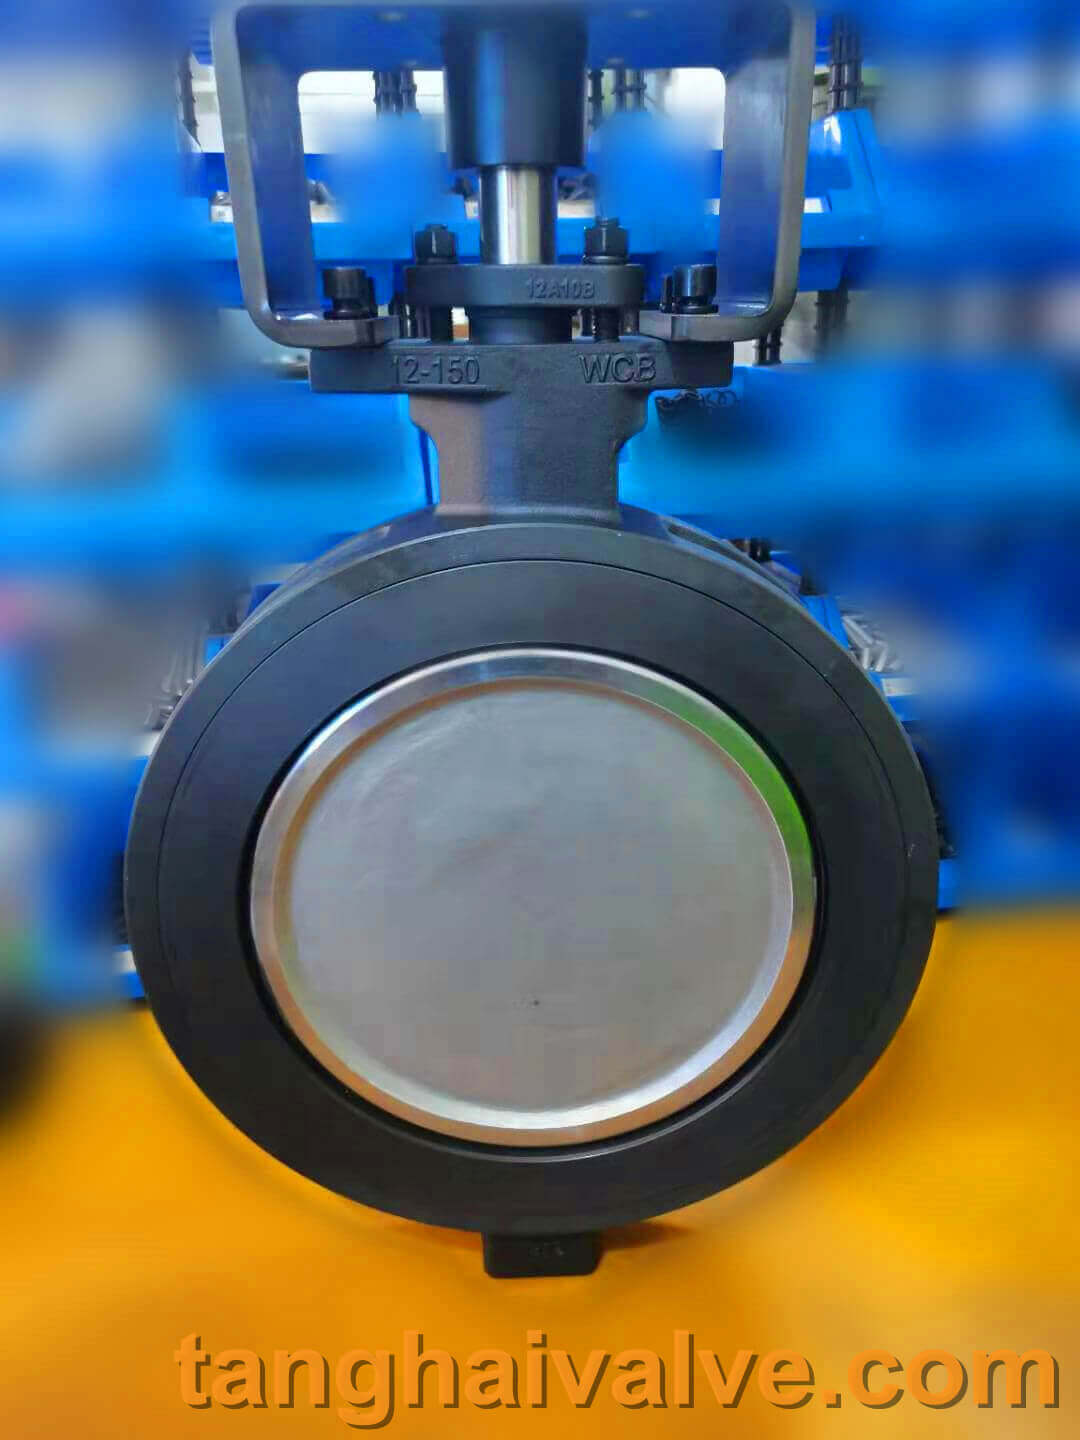
Double offset-wafer butterfly valve-D72F-150lbC (1)
Manual wafer butterfly valve installation skills
1. Storage work before installation: Store the manual wafer butterfly valve in a cool, dry and ventilated environment, and cover the valve to prevent the valve from being contaminated with dust and all debris.
2. Before the wafer butterfly valve is installed on the pipeline, the pipeline needs to be calibrated, and the positions of the pipes at both ends cannot be deviated. Body strain or rupture.
3. Before the valve is installed, the valve and all installed pipelines should be cleaned again to ensure that the inside of the valve and the pipeline is completely clean, and no dust is left.
4. Manual wafer butterfly valve belongs to manual butterfly valve, which requires frequent manual operation. Therefore, there are also requirements for the installation position of the manual butterfly valve. The installation position of the valve must be convenient for personnel to operate and maintain in the future. It has been demonstrated that the best position for manual valve installation is about 1.2 meters from the operating floor. For valves installed outdoors, cover the valve with some covering to prevent bad weather from affecting the valve.
5. When installing on the pipeline, make sure that the butterfly plate is in a closed state, so as to avoid collision and damage between the butterfly plate and the pipeline flange, which will affect the sealing performance.
6. After the manual wafer butterfly valve is installed, if there is an opening and closing failure during use, it is necessary to find out the cause and eliminate the failure. It cannot be forced to open and close by beating, prying or brute force.
The above is the whole content of the “manual wafer butterfly valve installation skills” introduced for you. Here, the editor also reminds everyone that after the valve is installed, it must be regularly maintained during the use of the valve. work, so as to ensure the normal and smooth operation of the valve. If you have purchase requirements for manual wafer butterfly valves, you are welcome to consult the official website of Tanghai Valve.
TH Valve is a professional manufacturer of butterfly valve, gate valve, check valve, globe valve, knife gate valve, ball valve with API, JIS, DIN standard, used in Oil, Gas, Marine industry, Water supply and drainage, fire fighting, shipbuilding, water treatment and other systems, with Nominal Diameter of DN50 to DN1200, NBR/EPDM/VITON, Certificates & Approvals: DNV-GL, Lloyds, DNV, BV, API, ABS, CCS. Standards: EN 593, API609, API6D
Video of center-lined butterfly valve:
Video of double eccentric butterfly valve:
Related news/knowledge:
Wafer butterfly valve installation instructions and steps
Pneumatic butterfly valve installation instructions
What is a wafer type butterfly valve
Uses and characteristics of manual butterfly valve (4)


 © Copyright 2020 Tianjin Tanghaidongyang Valve Co., Ltd. All Rights Reserved.