What is assembly error and how to control it?
Assembly error refers to the difference between the installation position of the parts and the ideal position required by the assembly specifications and design regulations and processes.
Causes of assembly errors:

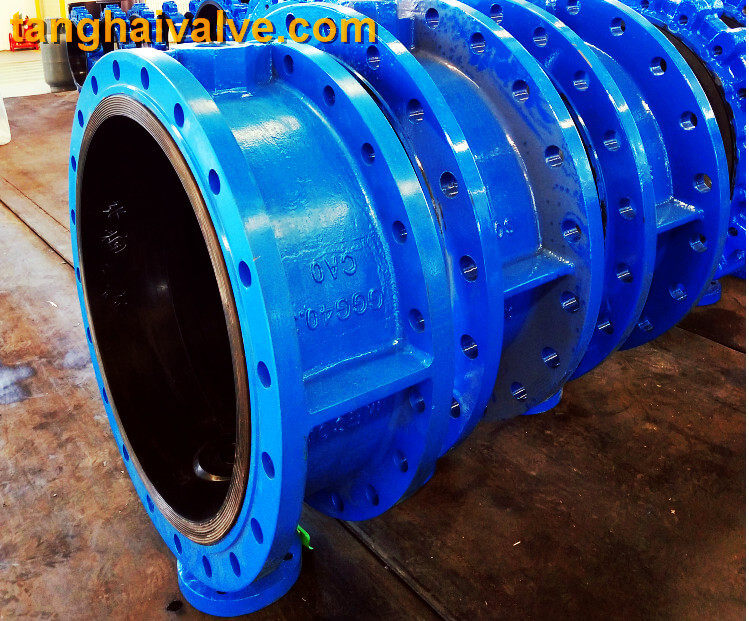
Double flange butterfly valve (1)
①Part error: the additional error caused by the manufacturing error of the part and the deformation and wear after operation and use.
② Errors in tools and measuring tools: tools and quantities have manufacturing errors, and system errors will occur if they are used for measurement and positioning.
③Operation error: due to hand feeling (such as tightness, flatness, sharpness, smoothness, beating, shaking, vibration, spacing, pulling force, hand tapping, hand-hand gap, hand feeling loose, etc.), visual inspection (size, level, straight , Vertical, parallel, aligned, tangent, etc.), ear hearing (various abnormal noises), nose smell (leakage, etc.), the error generated by the human sensory identification.
④Environmental errors: errors caused by temperature, relative humidity, light direction, air flow direction, movement of the foundation, etc.
⑤ Consciousness error: error caused by lack of concentration or lack of responsibility.
How to control assembly error:
1. Choose a reasonable assembly benchmark
In order to make the assembly position of the part accurate, select a certain part (point, line, surface) of the already positioned part as the positioning basis for the part to be installed. This part is called the assembly datum. The correct choice of assembly benchmark is an important factor in improving assembly accuracy and reducing assembly errors, and must be taken seriously. The following factors should generally be considered for the correct selection of the assembly datum.
(1) Try to choose parts with higher machining accuracy, that is, parts with small dimensional tolerance, high shape accuracy, small position deviation, and low roughness as the reference. For example, the diameter tolerance and radial runout of the groove part during the manufacturing of the roller are lower than those of the smooth surface. Therefore, when checking the roller bending and correcting the roller gauge, the groove part is the reference.
(2) The reference position should be as close as possible to the assembly adjustment point. For example, when the car surface is flat, the height of the car surface should be adjusted by the frame lifting screw, so the flat ruler should be placed as close to the frame as possible. For example, if the flat-foot iron rest is placed far away from the frame, and the reference point is far away from the frame, when the height of the adjacent frame is adjusted, the iron rest will be driven to rise and fall to make the reference drift. As shown in Figure 1, suppose the center distance ab of the two frames is 1008mm, point a is the point where the top surface of the car has been leveled, and point b is the point where the top surface of the car is to be leveled. The flat ruler should be placed at point a. If it is not placed at point a, it should be placed at point d, 100mm (ad) away from point a. When correcting the length of the car to be horizontal, the car surface at the adjustment point is from point b Adjusted to point c, increased by 0.10mm (bc), this flat ruler bar was also driven to rise from point d to point e, rising by 0.01mm (de), that is, the benchmark is raised by 0.01mm.
This shows that the farther the flat-foot rail is from the frame, the greater the change in the height of the reference plane, which affects the assembly accuracy.
(3) Try to reuse the same datum as much as possible to eliminate the deviation of the part surface shape. For example, because the top surface has a certain degree of lengthwise bending and widthwise distortion, it is necessary to look at the length of the car surface to the level of the flat ruler, the level to look at the width of the car surface and the level of the front roller to support the height line. Line round rollers are placed in the same position to avoid additional errors caused by uneven top surface of the car.
(4) When selecting the benchmark, the convenience of flat mounting operation should also be considered. For example, there are generally two methods for positioning the helical gear of the spindle shaft: one is to insert the spindle, and use the spindle as the reference, and use the card board to locate; the other is to not insert the spindle, and the lower dragon-jin oil cup is the reference. Although the tolerance of the spindle diameter is smaller than the tolerance of the oil cup hole, it is more difficult to locate after inserting the spindle. Taking the oil cup hole as the reference, it can meet the left and right positioning requirements of the spindle gear, and the spindle can not be inserted, which makes the operation convenient.
(5) Try to be consistent with the reference parts of the machine manufacturer’s parts processing and pre-assembly.
2. Avoid multiple transmissions of assembly standards (reduce cumulative errors)
There are two ways to divide a 1m long straight line into ten equal parts: one is to use a 150mm steel ruler, and the steel ruler is moved every 1oomm for ten times; the other is to use 1m steel The ruler does not move, but takes ten points in sequence according to the corresponding scale line. It is obvious that the error of the second method is relatively small. Because of the former method, due to multiple movements of the measurement reference, two or more assembly errors (tools, operating errors) are superimposed together, and cumulative errors are generated. By the same token, when measuring the gap with a feeler gauge of specified degree, a single-page feeler gauge should be used as much as possible to measure more accurately, and avoid using two or more thin feeler gauges to measure.
3, master the law of change of error (eliminate system error)
If the variation law of the error is found and the value is ascertained, it is like trying to eliminate the error value during assembly. This kind of regular error is called systematic error. For example, when the inner diameter measuring claw of a vernier caliper wears out 0.02mm, making the reading of each measurement imaginaryly larger by 0.02mm, you can automatically subtract 0.02mm from the reading to get the actual reading you need. Another example is when the level of the bubble is inaccurate, after the positioning and U-turn inspection, it is found that the bubble is inaccurate. After positioning to a certain end, it is horizontal. Therefore, when looking at the level, you should deliberately make the main bubble to a certain end. , So that the parts reach a level state.
4. Reasonable allocation or adjustment error value (reduce assembly error)
1). Mutual loan
When large castings such as the drawing locomotive face, bottom plate, roving frame head and tail wall panels, frame, and face are twisted and deformed, due to the inconvenience of orthopedics, only the verticality or levelness of multiple points can be checked to make the readings positive and negative after flat mounting The maximum value of the direction is equal, or the difference after subtracting the maximum value of the positive and negative directions is not greater than the allowable error. This method is called the mutual loan method.
2). Adjustment method
When the cumulative error in assembly exceeds the allowable error, the size, shape or shape of one of the links can be changed, or an unimportant size can be discarded without control, so that the total size is within the allowable range. This changeable link is called the “adjustment ring”. For example, when adjusting the draw frame roller seat to open the gear, first determine the left and right positions of the upper wall panel from the outer line of the front of the car, and then set the first roller seat position based on the upper wall panel of the front of the car. Set the position of the second, third, and fourth roller seat in turn, and the size between the fourth roller seat and the upper wall panel of the car can only be abandoned, and it is impossible to correct it. In actual work, the size, shape or position of the adjustment ring Changes are often achieved by filing, padding, welding, or adjusting with adjustable parts, such as adjusting screws, adjusting washers, and foot pads. Using these parts to adjust can improve assembly accuracy and save manual work. File repair and other work.
3). Select right assembly method
In order to reduce assembly errors and improve the accuracy of parts assembly, parts with certain errors can also be matched or grouped through selection, so that the upper and lower errors between the parts can be matched to appropriately improve the accuracy, which is called selective assembly. For example, group the rubber roller core and the iron shell to make the gap consistent; divide the diameter of the rubber roller into several gears to make the diameter of the rubber roller of the same machine or the same zone be the same.


 © Copyright 2020 Tianjin Tanghaidongyang Valve Co., Ltd. All Rights Reserved.